Installing Signature Manager Outlook Edition
Installation Overview
The installation process for Exclaimer Signature Manager Outlook Edition is very straightforward, using an installation wizard to copy required files and complete most setup behind the scenes.Once the installation is complete, you may need to complete a few additional steps, depending upon how you wish to deploy signatures from Exclaimer Signature Manager Outlook Edition to your Outlook users. There are two possible scenarios to consider:
- Within your organization most users log on to your domain via Microsoft Outlook but some occasionally use OWA. In this situation, set deployment (via a .BAT or a VBS file) as a logon script or a Group Policy Object (GPO).
- Within your organization most users typically use OWA and rarely log on to your domain via Microsoft Outlook. In this situation, set deployment (via a .BAT or VBS file) as a logon script or a Group Policy Object (GPO). This sets ExSync for the relatively few users who log on to your domain and you should then configure OWA settings to use server updates, as detailed in the main user guide for Exclaimer Signature Manager Outlook Edition.
The Installation Process
With both deployment scenarios (described previously) in mind, the following diagram summarizes the installation and setup process for Exclaimer Signature Manager Outlook Edition: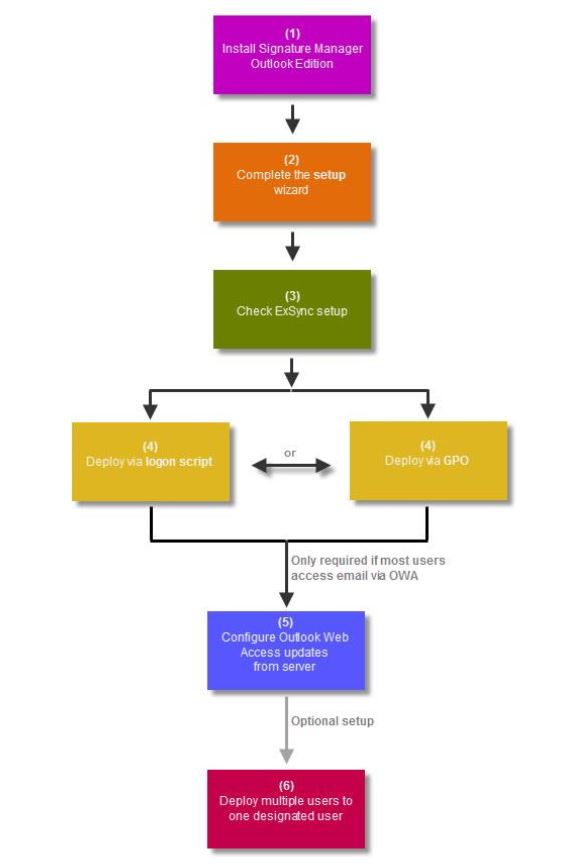
Here, steps 1 to 4 are mandatory, irrespective of how most users access their email, and are detailed below. Then, step 5 is only required if most people use OWA or if you are using Exchange 2013. Step 6 is entirely optional. Information regarding these steps can be found in the main user guide for Exclaimer Signature Manager Outlook Edition.
System changes
The installation process makes the following changes to your system:- The Exclaimer Outlook Settings Connector Service is installed.
- The Exclaimer Signature Manager Outlook Edition Configuration Service is installed.
- The Exclaimer Signature Manager Outlook Edition Remote Deployment Service is installed.
File Location(s)
As part of the installation process, you are asked to specify a destination folder, into which program files will be installed. The default folder is C:\Program Files\Exclaimer Ltd\Signature Manager. In addition to program files, a number of configuration files are copied to your system. The location of these files varies according to operating system, as summarized below:| Item | Minimum Requirements |
|---|---|
|
Windows Server 2003 x64 Windows Server 2003 R2 x64 Windows Server 2003 x86 Windows Server 2003 R2 x86 Windows XP x86 and x64 |
\Documents and Settings\All Users\Application Data\Exclaimer Ltd\Signature Manager |
|
Windows Server 2008 x64 Windows Server 2008 R2 x64 Windows Server 2008 x86 Windows Server 2008 R2 x86 Windows Server 2012 Windows Vista x86 and x64 Windows 7 x86 and x64 Windows 8 x86 and x64 Windows Small Business Server 2008 Windows Small Business Server 2011 |
\ProgramData\Exclaimer Ltd\Signature Manager |
Downloading Signature Manager Outlook Edition
The Exclaimer Signature Manager Outlook Edition installation file is named setup.exe and can be downloaded from the products page on the Exclaimer website. Once downloaded, setup.exe should be run on the computer from which you wish to manage signatures.Note: If required, an MSI is available from support by contacting support@exclaimer.com.
The Installation Wizard
The installation process for Exclaimer Signature Manager Outlook Edition is completed using a familiar 'wizard' approach to guide you through each process, step-by-step. This process includes the Exclaimer license agreement and copies files to your preferred destination folder. Once complete, you can use the application for five days, after which you must register for a 30 day trial to continue using Exclaimer Signature Manager Outlook Edition.To complete the installation wizard, follow the steps below:
1.
Double click the setup file to start the installation process:
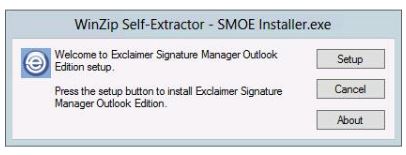
2.
Click Setup to display a welcome message:
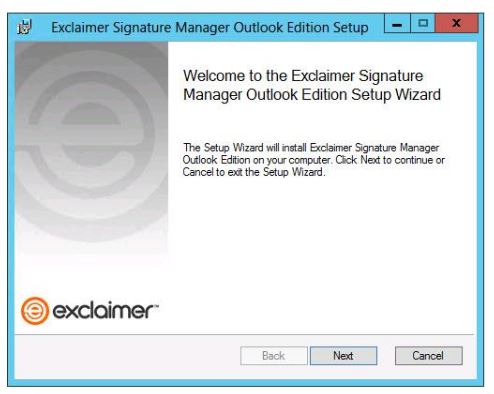
3.
Click the Next button to view the end-user license agreement:
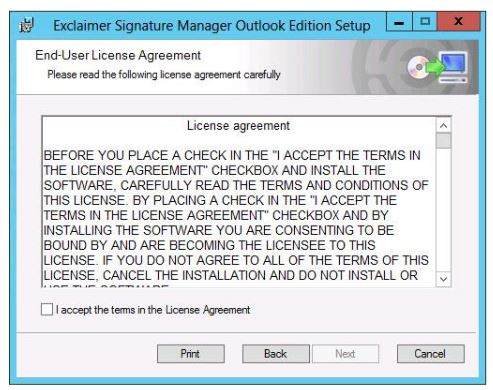
4.
Having read the license agreement, check the I accept the terms in the license agreement box and click Next to specify a destination folder for installed files:
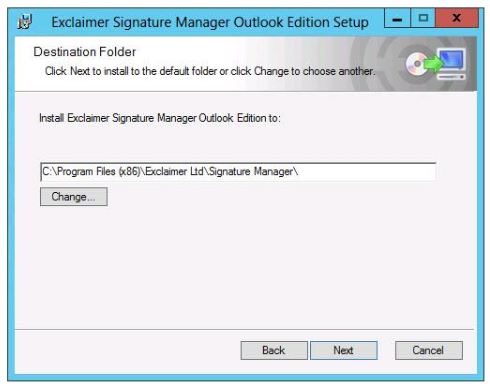
From here you can accept the default folder, or click to specify a new location.
5.
Click Next to review:
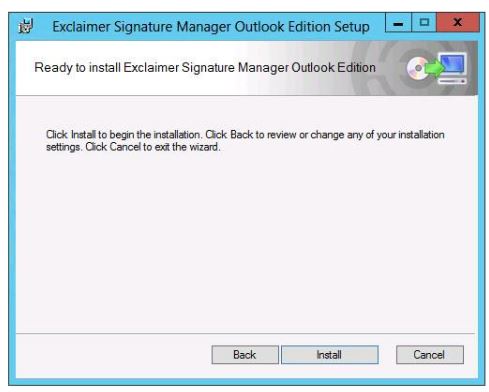
6.
Click the Install button to perform the installation. Progress is displayed on screen and final confirmation is shown upon completion:
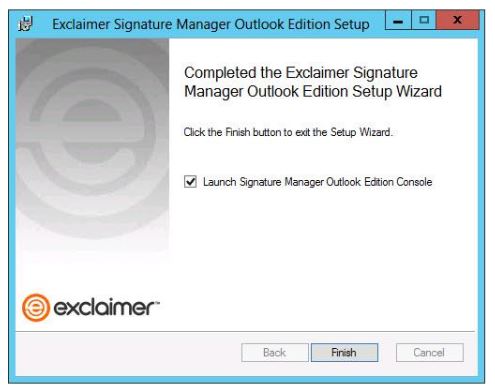
7.
Click Finish to close the wizard. If you are installing Exclaimer Signature Manager Outlook Edition for the first time, the setup wizard is launched. You should complete this wizard to create your first policy and get started with Exclaimer Signature Manager Outlook Edition.
Customer support service by UserEcho