Remote banner control in Mail Disclaimers
Remote Banner Control
This ‘Dynamic Content’ or ‘Remote Banner Control’ feature lets a nominated end user (often a marketing manager, designer or web developer) change an image file and have it instantly updated in everyone’s signature.You create a shared folder that their machine and our software can access, place the image in it and tell our software it’s what the UI calls a ‘Custom Image’ – so as soon as it’s altered, we can pull it into the template and update every signature.
They can simply make changes to the file and save it as normal or replace it with a completely new, but identically named, file. Changing any image in the signature becomes as easy as pressing Ctrl+S.
1.
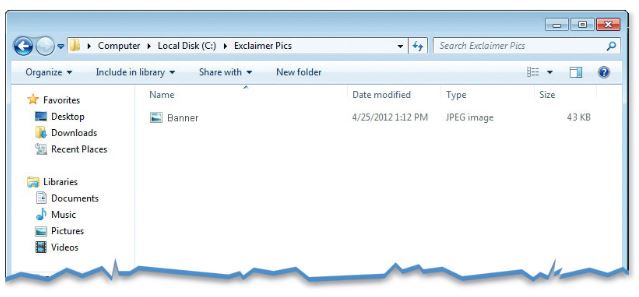
Choose or create a shared folder for each image – you’ll need separate folders for multiple images.
2.
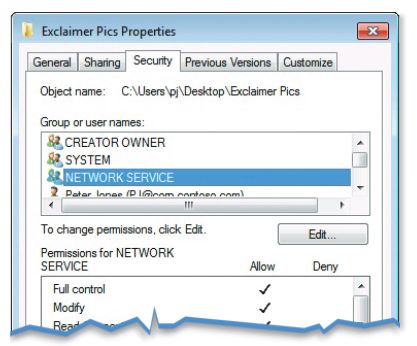
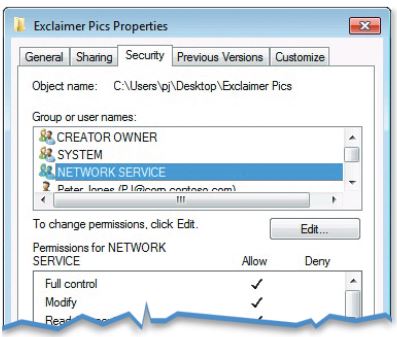
Right-click your folder, choose ‘Properties’, then find the ‘Sharing’ tab. Give the nominated user (your designer or marketer) full access and give ‘NETWORK SERVICE’ read permissions. Remember to repeat this for every folder.
3.
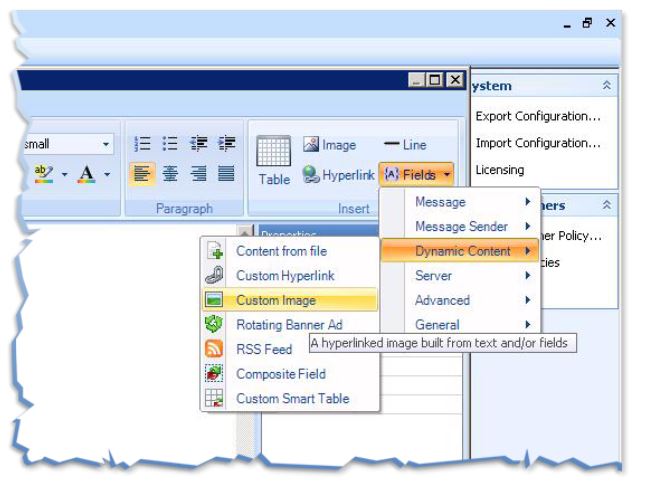
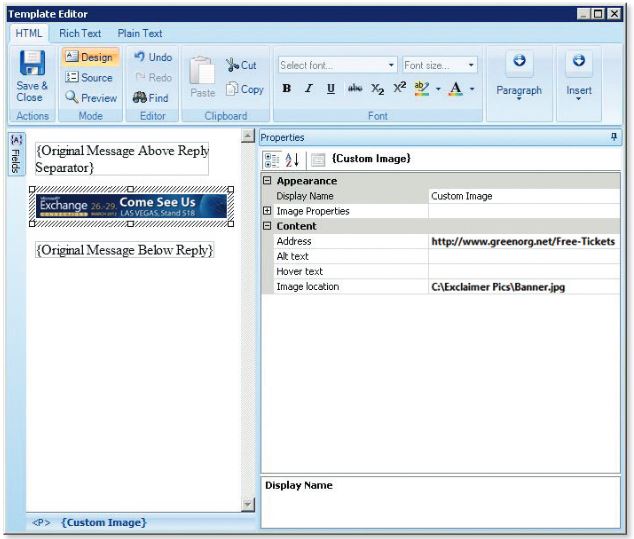
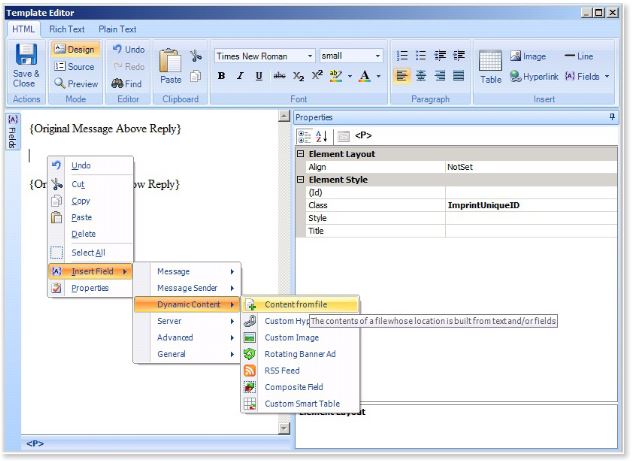
Now open the signature editor in our software. Place your dynamic image in the template by right-clicking and selecting ‘Fields’, then ‘Dynamic Content’ and then ‘Custom Image’ .
4.
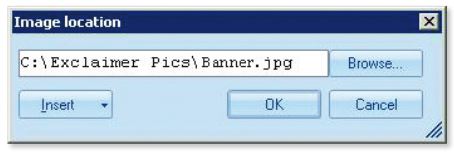
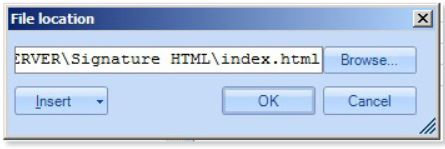
Find the image you wanted – either write its address or find it manually with the ‘Browse’ button.
5.
Your image should appear in the template.
6.
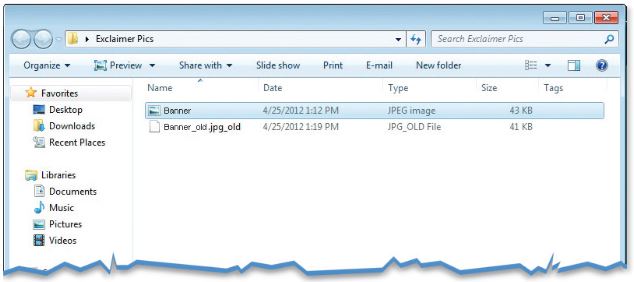
To test the update function, either change your image and save it or replace it with another identically named file.
7.
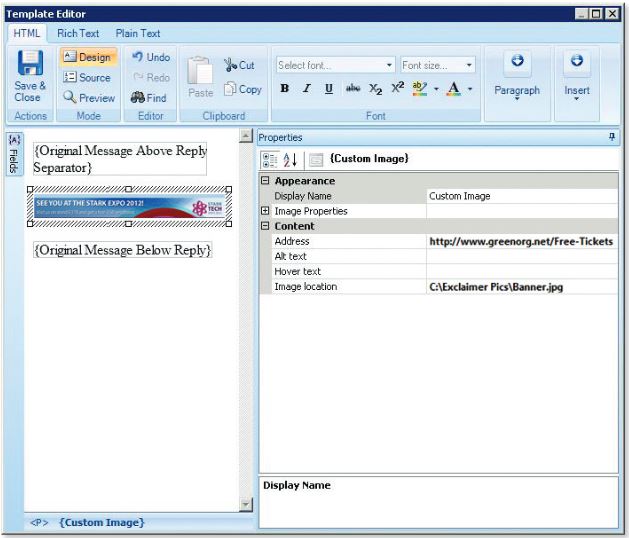
Return to the template editor screen and click the ‘Design’ button to refresh.
8.
Your image should have changed in the template too – automatically.
9.
Now marketing, designers or whoever can simply save changes to that image and our software will instantly update everyone’s signature.
Remote HTML Control
If marketing want more control, you can use the ‘Content From File’ feature to let them alter the signature’s HTML too.A web developer or HTML adept can add or adjust text, links, tables and more – as easily as a designer uses the ‘Custom Image’ feature. They save the HTML file; we automatically retrieve it and update the signature.
1.
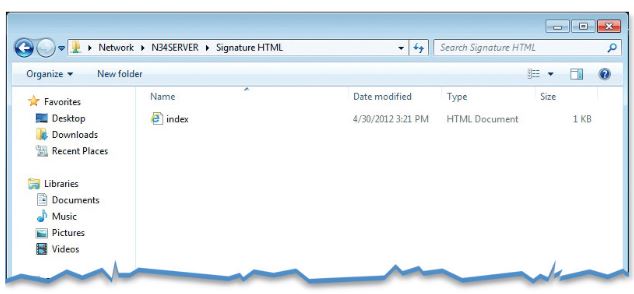
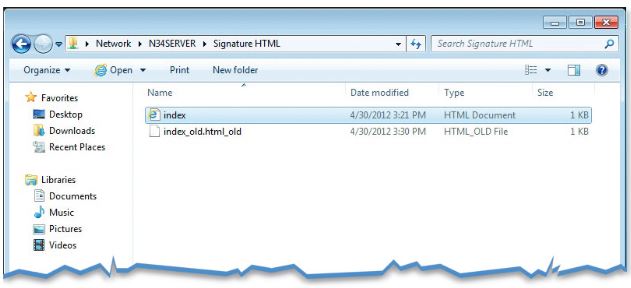
Again, choose or create a shared folder for your HTML file.
2.
Make sure the folder is properly shared and secured. Like you did for the ‘Custom Image’ feature, give the nominated user (your web developer, for example) full access and give ‘NETWORK SERVICE’ read permissions.
3.
Now open the signature editor in our software. Select the area where you’d like to add your HTML, right-click and choose ‘Insert Field’ (or click ‘Insert Field’ in the top-right corner), click ‘Dynamic Content’ and then ‘Content From File’.
4.
Find the folder with the HTML file you wanted – either write its address or find it manually with the ‘Browse’ button, like you did for your ‘Custom Image’.
5.
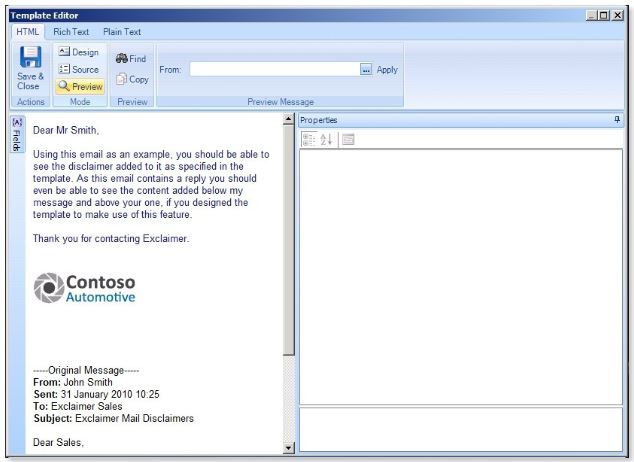
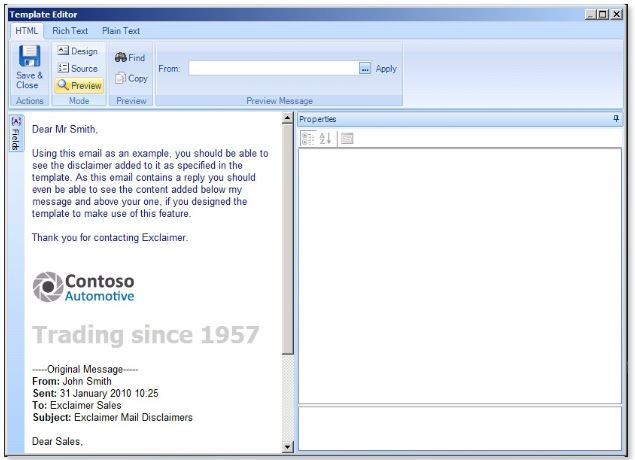
Click ‘Preview’ to see the signature as it will appear to readers. It should have all the additional HTML specified in your file: tables, links, etc. – even linked images.
6.
To test it, change the HTML file and save it or replace it with an identically named file.
7.
Return to the template editor screen and click the ‘Preview’ button to see your signature with the HTML added.
8.
It should have changed in the template too – automatically.
9.
Now marketing can control the HTML in everyone’s signature too – it’s maximum impact for the designer, minimum effort for the admin.
Customer support service by UserEcho