Exclaimer Mail Archiver with Windows Azure
Overview
How to use Windows Azure Storage for the Exclaimer Mail Archiver store.What you need
- An active Windows Azure account.
- A configured storage account.
- A configured container within a storage account.
- A third party product that supports Mapped drives to Windows Azure.
To get these:
- Log in to the Windows Azure control panel.
- Browse to your Storage Accounts
- Click the one you will be using.
- Click Manage Access Keys at the bottom of the window.
Configure mapped drive
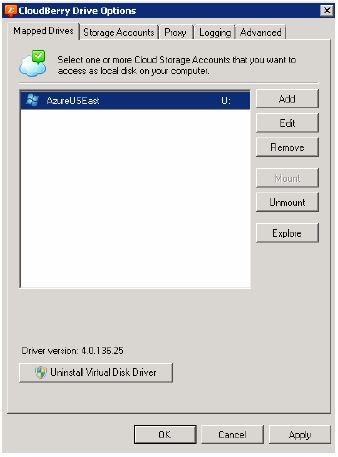
Download and install a third party product that supports Mapped drives to Windows Azure. This guide will use Cloudberry Drive as an example.Right click the Cloudberry Drive tray icon and click Options. On the Mapped Drives tab, click Add.
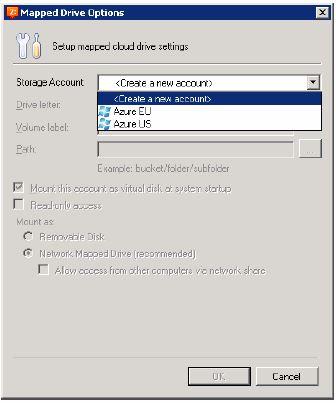
For Storage account choose - this will open the Add Storage Account window.
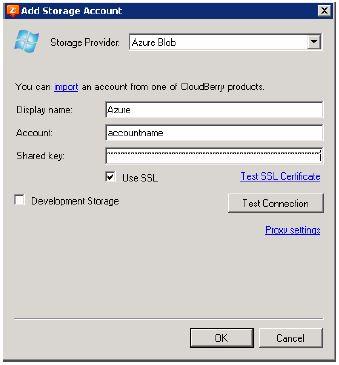
For Storage Provider select Azure Blob then complete as follows:
- Display name: Give this an appropriate name of your choosing.
- Account: Enter the Storage account name found on the Manage Access Keys properties for the Storage account in Windows Azure.
- Shared Key: Enter the Primary Access Key found on the Manage Access Keys properties for the Storage account in Windows Azure.
- Use SSL: Leave ticked.
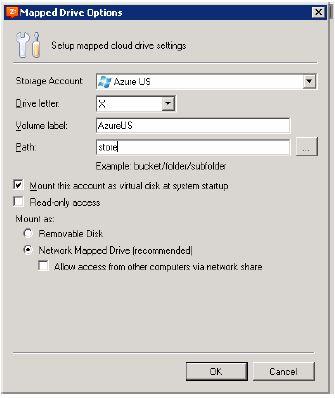
Click OK to return to the Mapped Drive Options window then complete as follows:
- Storage Account: Ensure the newly created account is selected.
- Drive Letter: Pick a suitable letter for your environment.
- Volume Label: Give this an appropriate name of your choosing.
- Path: Click the … and select the Container to use.
- Ensure Mount this account as virtual disk at system startup is ticked.
- Mount as: Leave as Network mapped drive.
- Click OK and you will be asked to mount the drive now.
- Select Yes.
Configure Exclaimer Mail Archiver to use Windows Azure via the First use wizard
- Load the Exclaimer Mail Archiver Console for the first time to see the First Use Wizard.
- On the Welcome page, click Next.
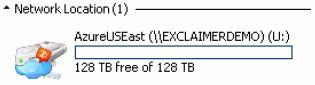
- On the Store Setup page, give your store a suitable name, browse to the Windows Azure mapped drive and select the folder you want your store to be located in.
- If prompted to create the location, click Yes.
- Continue with the wizard to configure a journal account and then click Finish.
Move an existing Exclaimer Mail Archiver store to Windows Azure
- Load the Exclaimer Mail Archiver Console.
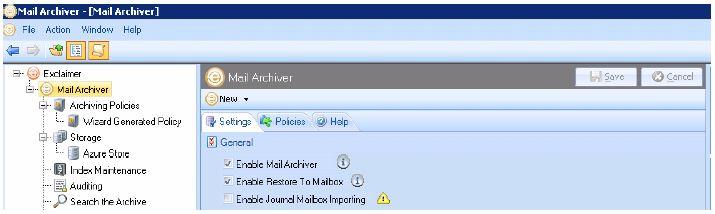
- Click Mail Archiver in the tree then click the Settings tab.
- Un-tick Enable Journal Mailbox Importing.
- Click Save and confirm the changes.
- Manually copy your existing store data to the Windows Azure mapped drive then continue when the copy is complete.
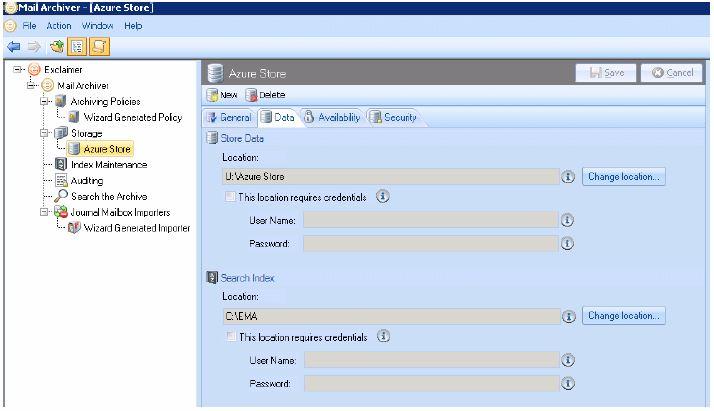
- Click the current store under Storage in the tree and click the Data tab.
- Under Store Data click Change location… and browse to the Windows Azure mapped drive folder with your store in then click Select Folder.
- Click Save and confirm changes then test you can successfully search your store.
- Go back to the Mail Archiver Settings and tick Enable Journal Mailbox Importing, click Save and confirm the changes.
Customer support service by UserEcho