How to deploy the Outlook Signature Update Agent MSI package using a Group Policy Object
1. Download the MSI package for the Outlook Signature Update Agent from here.
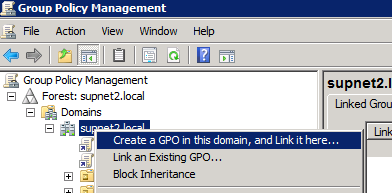
2. To create a Group Policy, open the Group Policy Management console and right click on the domain name.
3. Select Create a GPO in this domain, and link it here...
4. Specify a name for the new GPO and click Ok.
5. Right click the newly created GPO and click Edit.
6. Navigate to User Configuration > Policies > Software Settings.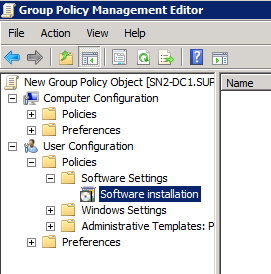
7. Right click on Software installation and select New > Package.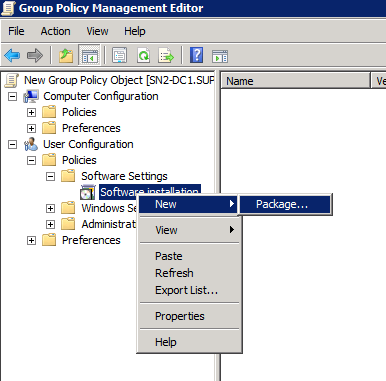
8. Select the MSI package downloaded earlier.
9. Select the Assigned radio button for the deployment method and click OK.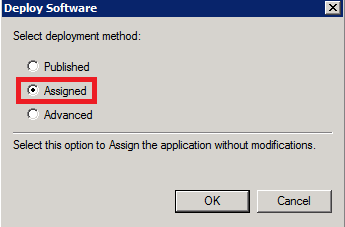
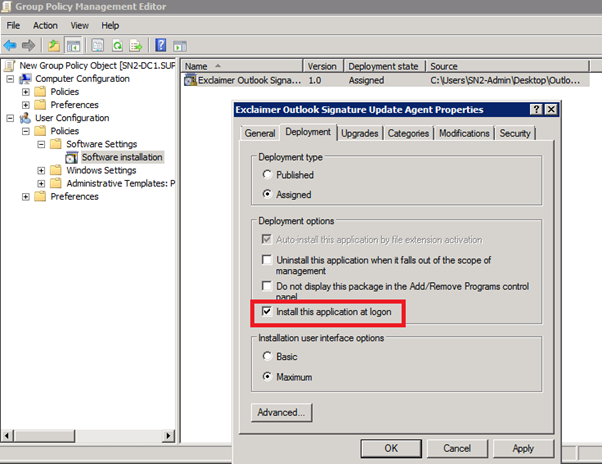
10. Right click on the Exclaimer software package and select Properties.
11. Click the Deployment tab and tick the box Install this application at logon and click OK.
If you are using remote desktop
Step 1: Create a new or update existing .bat file
- Browse to the NETLOGON share and either create a new or edit an existing .bat file.
- Open the .bat file with Notepad.
- Add the script shown below into the .bat file, ensuring you enter the path to where the Outlook Signature Update Agent MSI file is located:
msiexec /i <"full path to Outlook Signature Update Agent Install.msi>" /qn
- Save the .bat file
Step 2: Create the Group Policy Object (GPO)
To create a Group Policy, follow steps below:
- Open the Group Policy Management console and right click on the domain name.

- Select Create a GPO in this domain, and link it here...
- Specify a name for the new GPO and click OK.
- Right-click the newly created GPO and click Edit.
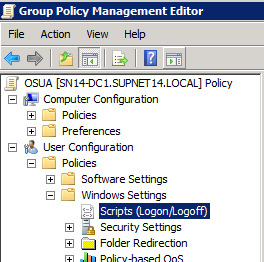
- Navigate to User Configuration > Windows Settings > Scripts (Logon/Logoff):
- Open Logon Properties and click Add.
- In the Add a Script dialog box, browse to the .bat file you created in step 1.
- Click OK twice.
- Close the Group Policy Management Editor window.
Customer support service by UserEcho